Categories
How to Clean and Protect Leather Seats
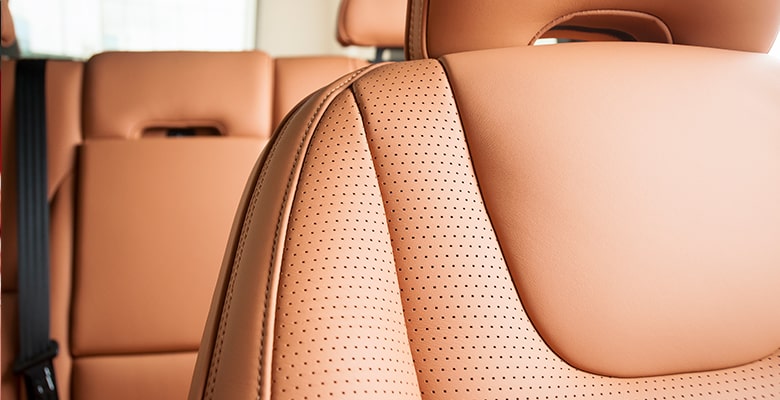
Leather seats are durable and hard-wearing, but without the proper care and attention, they can soon lose their luster. Over time, general wear and tear, ingrained dirt, and harmful UV rays from the sun can cause the leather to crease, crack, and fade. But don’t fret. With a little routine maintenance, you can protect your seats and keep your car’s interior looking like new.
STEP 1: Loosen Stuck-In Grime
Before you begin, set up a work light inside your vehicle to make it easier to see debris stuck in even the finest of cracks. Use a fine boar’s-hair brush on all leather surfaces to remove free particles. Carefully loosen crusted-on deposits around side bolsters, stitching, leather perforations, and embossments with a soft-tipped tool. Don’t forget to check leather shifter boots, side panels, and steering wheels for debris. Once you release all the grime, use a power nozzle attachment on a vacuum to suction up all debris.
STEP 2: Seal Off Cracks and Components
To avoid cleaner runoff and accumulation, we recommend protecting all non-leather materials before you begin treatment. Use adhesive-friendly tape to cover plastic handles, seat adjusters, and other non-leather seams. Place towels in seat cushion seams and over carpets to avoid excess drip off. If working around dashboard components or electronics, make sure you seal all seams, so no cleaning product enters.
Step 3: Vacuum the Seats
First, you need to remove any excess dirt and debris. Use a vacuum cleaner with a soft brush head attachment, so you don’t scratch the leather, and make sure you get into all the nooks and crannies. Once you’re happy that you’ve vacuumed up most of the dirt and dust, take a damp cloth and run it over the leather to pick up anything you might have missed. Allow a few minutes for your seats to dry before moving on to the next step.
Step 4: Choose the Right Cleaning Product
Before applying the leather cleaner, it’s worth taking a moment to consider your options. Inferior products can often do more harm than good, so it’s important to choose a quality cleaner. For the best results, opt for a two-in-one cleaner and conditioner, such as Sprayway Auto Leather Cleaner and Conditioner. Not only will you get a fantastic finish, but it will also help to renew and preserve the leather, and provide ongoing protection.
Step 5: Apply the Leather Cleaner
Shake the can well before use and spray a small amount of the cleaner onto a soft cloth or rag. Apply it to the leather using a steady, circular motion. This will gently massage and agitate the leather fibers ensuring a deep, thorough clean. Pay particular attention to any cracks or creases, as well as any areas that regularly come into contact with hair and skin, such as headrests. Once you’ve finished, allow the leather to dry for a few minutes. Using a second, clean cloth, lightly buff the seats to bring out the shine.
Step 6: Aftercare
To keep your leather seats looking their best, you should repeat this process every two to three months. For added protection, try to keep your car out of the sun. Prolonged exposure to heat and harmful UV rays can cause your leather seats to crack and fade, so keep your vehicle in a garage when it’s not in use, or cover it with a tarp.
In just a few easy steps, you can preserve the luster of your seats and keep your car’s interior looking brand new.